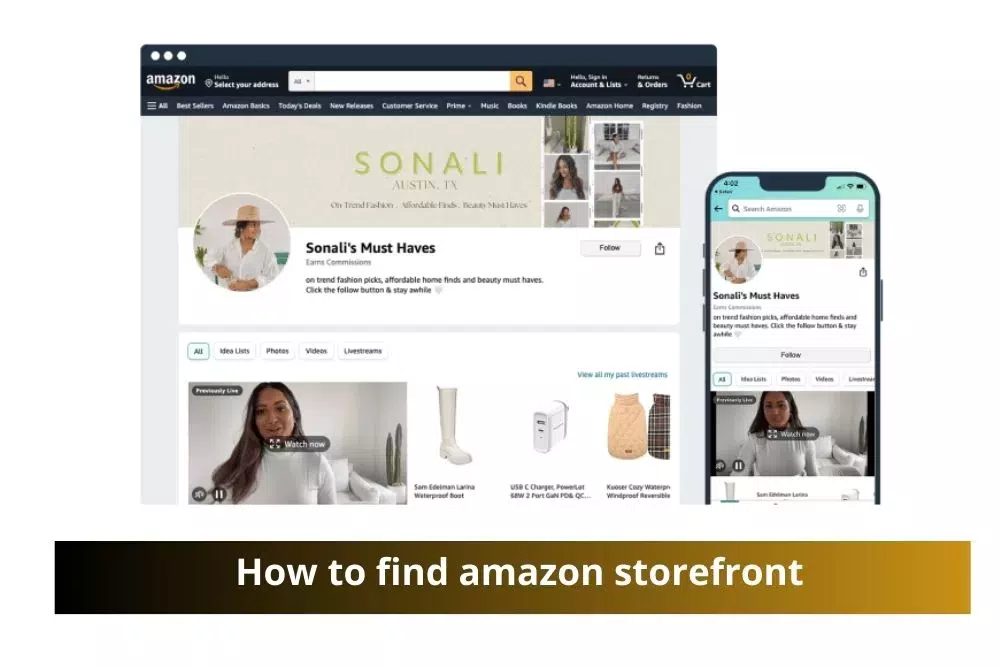
How to find amazon storefront

Introduction
In the bustling world of e-commerce, Amazon stands tall as one of the most prominent platforms for both buyers and sellers. With its vast array of products and services, Amazon offers entrepreneurs a platform to showcase their merchandise through Amazon Storefronts. But how does one navigate this digital marketplace effectively? In this comprehensive guide, we delve into the intricacies of Amazon Storefronts, providing valuable insights and tips for success.
Understanding Amazon Storefronts
Amazon Storefronts serve as virtual storefronts for sellers to showcase their brand and products. Think of it as your own personalized corner within the vast Amazon marketplace. By creating a Storefront, sellers can curate a unique shopping experience for customers, fostering brand loyalty and increasing sales.
Benefits of Amazon Storefronts
- Brand Visibility: With a dedicated Storefront, sellers can establish and promote their brand identity effectively.
- Customization: Storefronts offer various customization options, allowing sellers to tailor the shopping experience to their brand’s aesthetics.
- Enhanced Discoverability: A well-optimized Storefront can improve product visibility and search rankings on Amazon.
- Increased Conversions: By creating a seamless shopping experience, Storefronts can lead to higher conversion rates and customer satisfaction.
How to Create an Amazon Storefront
Creating an Amazon Storefront is a straightforward process, albeit one that requires attention to detail. Follow these steps to set up your Storefront successfully:
Step 1: Eligibility Check
Ensure that you meet Amazon’s eligibility criteria for creating a Storefront. Generally, sellers must be registered in the Amazon Brand Registry or have a Professional Selling account.
Step 2: Access Store Builder
Navigate to your Seller Central account and locate the “Store Builder” tab. Click on it to begin creating your Storefront.
Step 3: Choose a Template
Amazon offers a range of templates to suit different brand aesthetics and product types. Select a template that aligns with your brand vision.
Step 4: Customize Your Storefront
Personalize your Storefront by adding your brand logo, imagery, and product listings. Ensure consistency with your brand’s colors, fonts, and messaging.
Step 5: Publish Your Storefront
Once you’re satisfied with the customization, preview your Storefront and make any necessary adjustments. Then, hit the “Publish” button to make your Storefront live on Amazon.
Frequently Asked Questions (FAQs)
Q1: Can I edit my Storefront after publishing?
Yes, you can edit and update your Storefront at any time through the Store Builder tool in your Seller Central account.
Q2: Do I need to pay extra fees for creating a Storefront?
No, creating a Storefront is free for sellers with a Professional Selling account.
Q3: How can I drive traffic to my Storefront?
Utilize Amazon advertising options, such as Sponsored Products and Sponsored Brands, to drive traffic to your Storefront. Additionally, optimize your product listings and utilize external marketing channels to promote your Storefront.
Q4: Can I track the performance of my Storefront?
Yes, Amazon provides analytics tools within Seller Central to track metrics such as traffic, conversion rates, and sales performance for your Storefront.
Q5: Are there any restrictions on what I can sell on my Storefront?
While Amazon has guidelines regarding prohibited products, as long as your products comply with their policies, you can showcase a wide range of merchandise on your Storefront.
Conclusion
Amazon Storefronts offer sellers a powerful tool to showcase their brand and products within the Amazon ecosystem. By leveraging the customization options and optimization techniques outlined in this guide, sellers can create compelling Storefronts that drive visibility, engagement, and sales. Whether you’re a seasoned seller or just starting, investing in your Amazon Storefront can yield significant dividends in the competitive world of e-commerce.


